
This page guides you to enable sending push notifications to your users.
Set up Mobile Push Credentials
Open your Apple dashboard to enable push notifications for your application, and follow these steps:
- On your Apple Developer dashboard, go to Certificates, Identifiers & Profile and navigate to Keys.
- Click the ➕ icon to create a new Key.
- For the new Key, enable Apple Push Notifications Service (APNS) and click Continue.
- Click Register to register the new key.
- On the Download your key page:
- Copy the Key ID to add it later on the Contlo dashboard settings.
- Click Download to download the new key. This key is updated on the Contlo dashboard.
Configure Mobile Push on Contlo
On the Contlo Dashboard, go to the App Market and follow the steps below:
- Open the Mobile Push application.
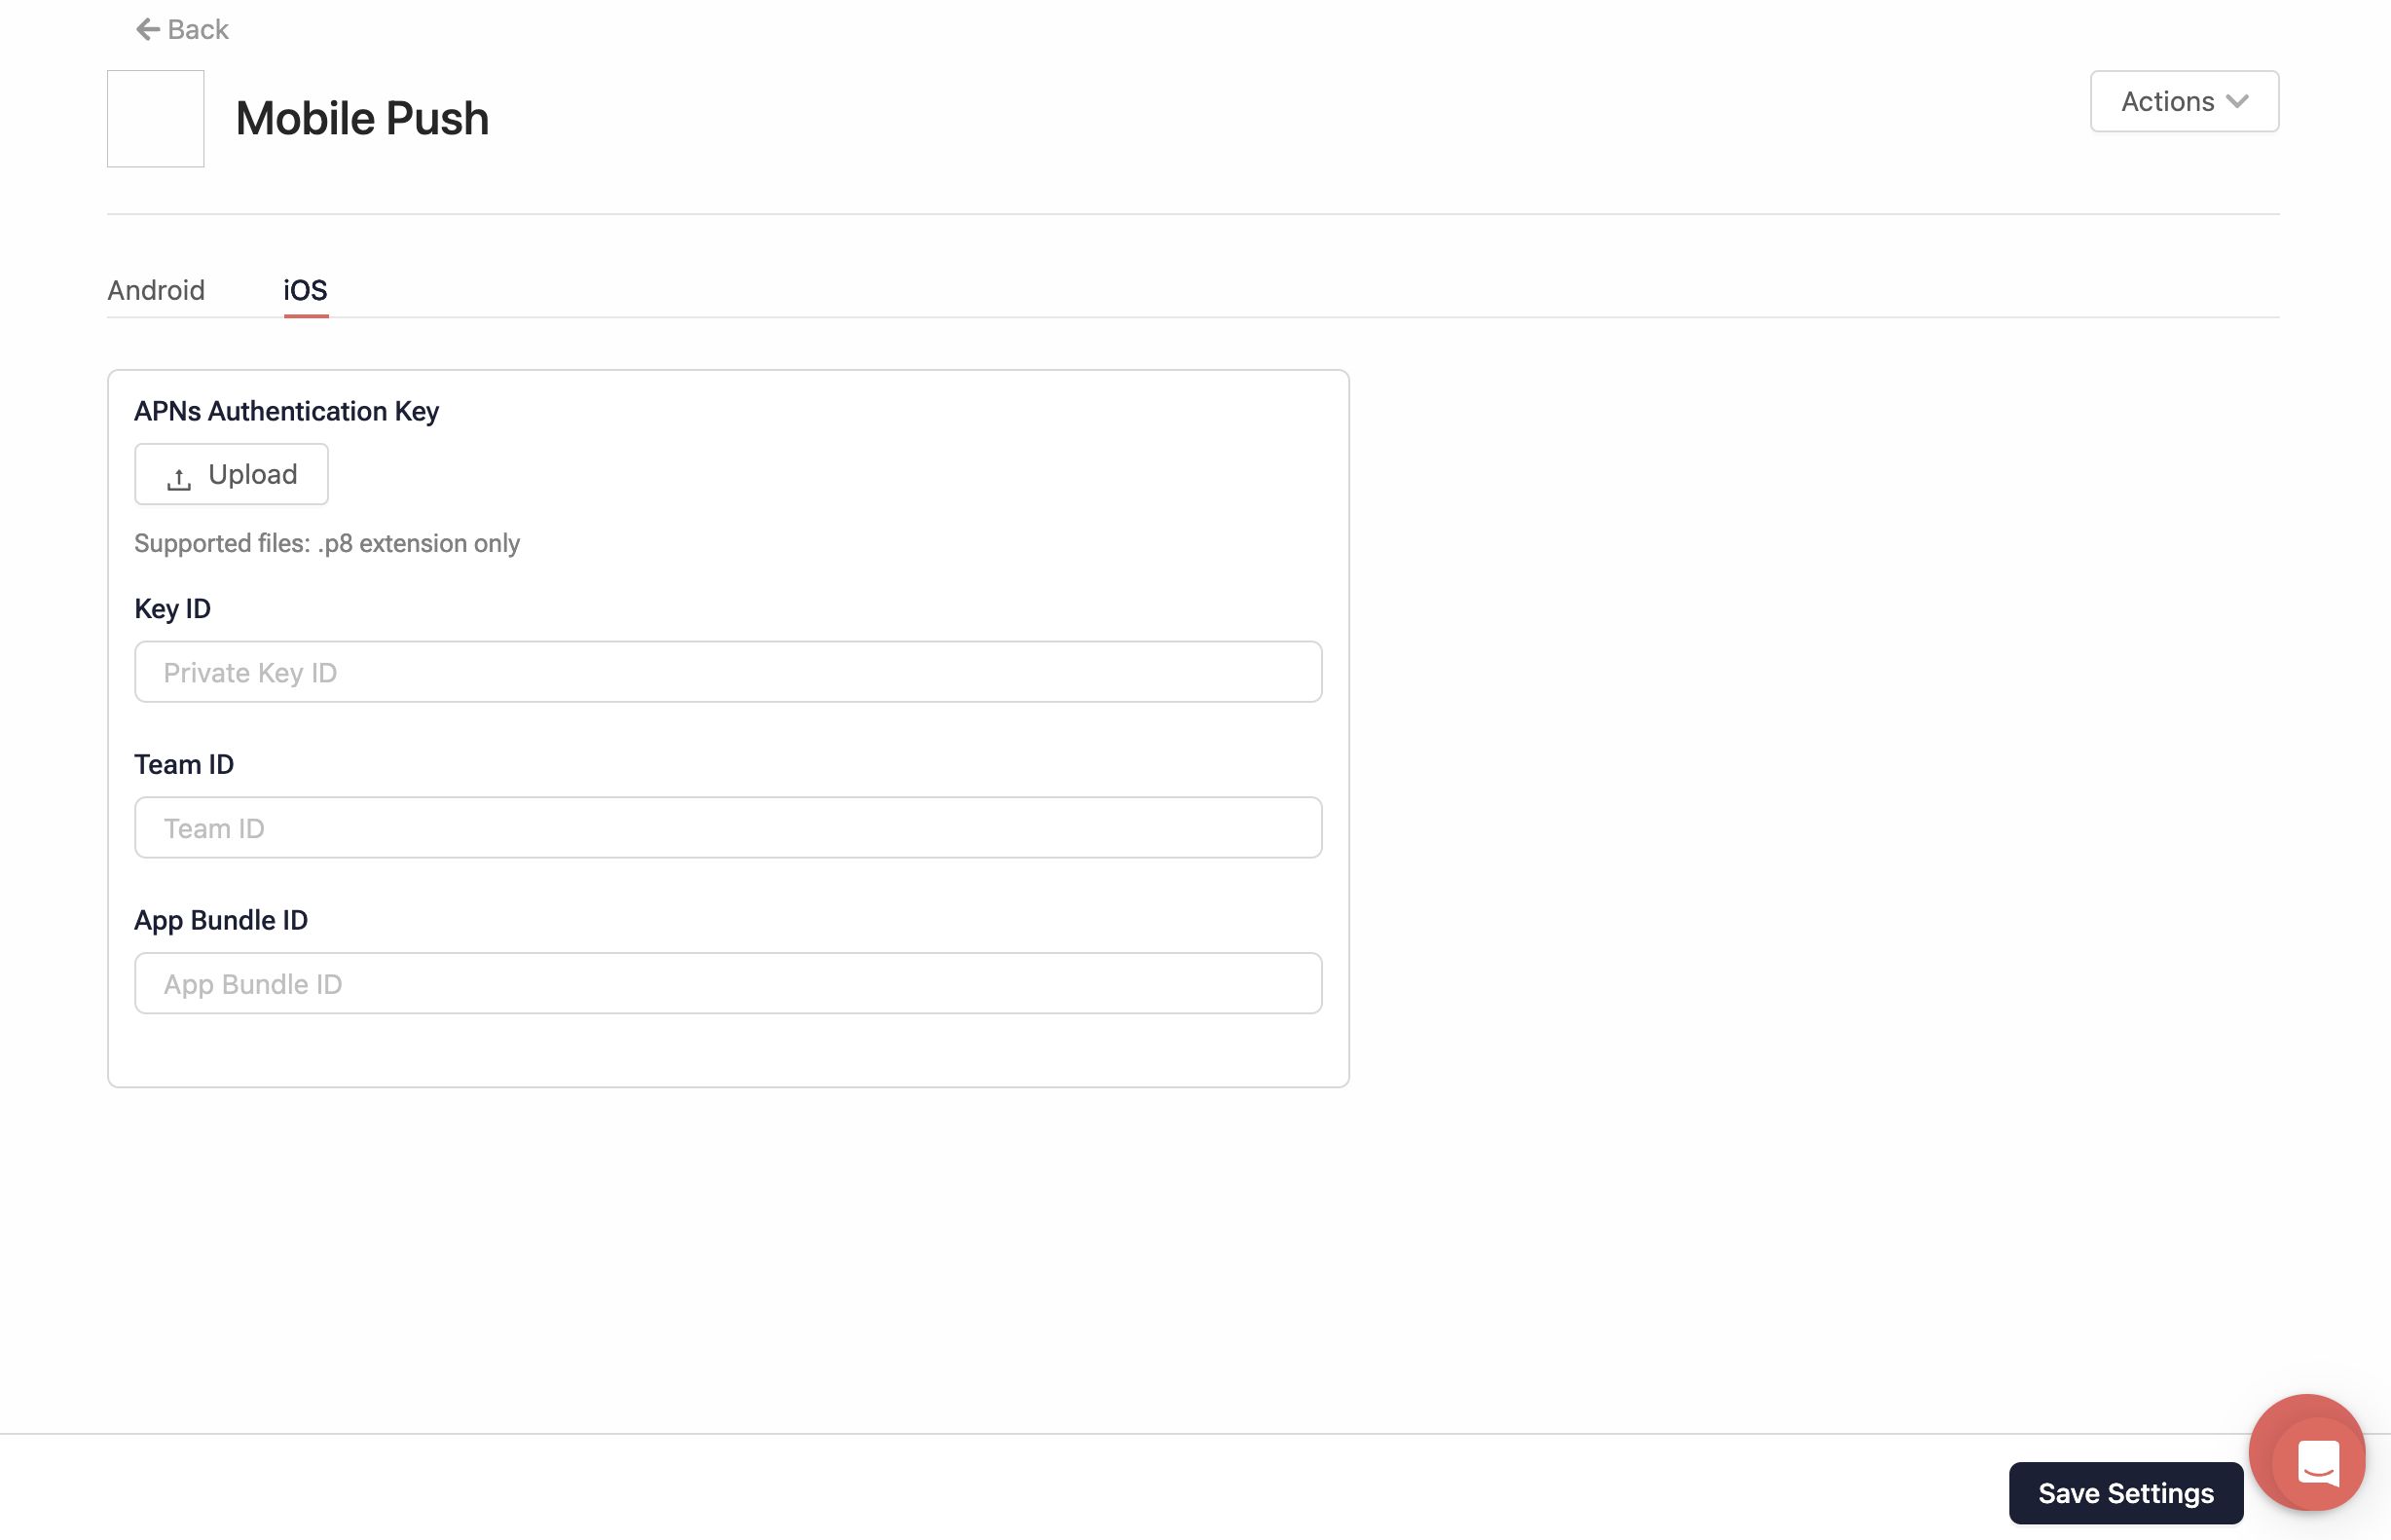
- On the Mobile Push screen, go to the iOS tab and add the following information:
- APNs Authentication Key: Upload the key that you downloaded from the Apple dashboard.
- Key ID: Add the Key ID copied from the Apple dashboard.
- Team ID: Enter your team ID for the Apple account.
- App Bundle ID: Add the ID of the Contlo SDK bundle.
- Click Save Settings.
Push Notification Permissions
Open your iOS project in Xcode and follow the steps below:
- Open the Targets where you want to use Contlo on the sidebar.
- Select the Signing and Capabilities tab from the navigation bar.
- Go to All > Background modes and select the Remote Notifications checkbox.
Consent for Push Notifications
For iOS Users, you need to explicitly ask users for their consent to receive push notifications. To get the user's consent, open the AppDelegate file and add the following code:
func registerForPushNotifications() {
        UNUserNotificationCenter.current().delegate = self
        UNUserNotificationCenter.current().requestAuthorization(options:
                                                                    [.alert, .badge, .sound]){(granted, error) in
            print("Permission Granted: \(granted)")

            // 1. Check if permission granted
            guard granted else { return }
            Contlo.setNotificationPermission(granted: true)
            // 2. Attempt registration for remote notifications on the main thread
            DispatchQueue.main.async {
                UIApplication.shared.registerForRemoteNotifications()
            }
        }
    }
Send Device Token to Contlo
You need to send the device token to Contlo, which will be mapped to the user to send notifications.
To send the device token, add the following code inside the application() function in the AppDelegate file:
func application(_ application: UIApplication, didRegisterForRemoteNotificationsWithDeviceToken deviceToken: Data) {
        let tokenParts = deviceToken.map { data in String(format: "%02.2hhx", data) }
        let token = tokenParts.joined()
        Contlo.sendDeviceToken(token: token)
 }
Register for Notification Click
To register the click of notifications, add the following code to the AppDelegate file:
func userNotificationCenter(_ center: UNUserNotificationCenter, didReceive response: UNNotificationResponse, withCompletionHandler completionHandler: @escaping () -> Void) {
       Contlo.registerNotificationClick(response: response)
        completionHandler()
    }
Register for Receiving Notification
Register the event triggered upon receiving a notification to track its deliverability effectively.
To register the event triggered when the notification is received on the device, you have to configure the Notification Service Extension target. Open your iOS project and follow the steps below:
- Open the Notification Service Extension target from the sidebar. If it does not exist, follow the steps below to create a new target:
- Go to File > New > Target.
- On the Choose a template for your new target modal, click the iOS tab, search, and select Notification Service Extension. Click Next
- Give the Product name and fill in the required details. Click Finish.
- Open the newly created target from the sidebar.
- To register the event, add Contlo's
registerNotificationReceivemethod inside thedidReceivefunction.
override func didReceive(_ request: UNNotificationRequest, withContentHandler contentHandler: @escaping (UNNotificationContent) -> Void) {
        self.contentHandler = contentHandler
        bestAttemptContent = (request.content.mutableCopy() as? UNMutableNotificationContent)
	      Contlo.registerNotificationReceive(request: request)
        if let bestAttemptContent = bestAttemptContent {
            contentHandler(bestAttemptContent)
        }
    }